
A curbless shower is a stall built flush with the bathroom floor, with no raised lip to step over. It suits anyone who wants a cleaner look, easier access for mobility needs, or a bathroom that works well at every life stage, but it comes with real trade-offs: the floor needs careful slope, airtight waterproofing, and sometimes structural changes that a standard shower pan never required. This guide walks through the design choices, the technical requirements, and the planning steps that make the difference between a flush shower that performs for decades and one that leaks within a year.
TL;DR:
- A linear drain needs a quarter inch of fall per foot in one direction; a center drain requires slope from all four sides.
- For mobility access, NAHB recommends at least 36 inches of shower width and wall reinforcement rated for 250 to 300 pounds for future grab bars.
- Conversions commonly cost $4,000 to $12,000, and the existing slab or framed floor determines whether subfloor recessing or joist changes are needed.
- Choose the drain and tile format before framing, then inspect the continuous waterproof membrane at the doorway before tile covers it.
- Use textured porcelain or small mosaics on the sloped shower floor for better wet traction; reserve large format tile for walls and surrounding floor.
Table of Contents
- Design Ideas and Layout Options for a Curbless Shower
- Weighing the Benefits Against the Trade-Offs
- Slope, Drains, and Waterproofing: The Technical Core
- What Accessibility Standards Say About Shower Dimensions
- Choosing Tile and Finishes That Work on a Sloped Floor
- Planning Your Project: Feasibility, Cost, and Hiring
- Common Installation Mistakes and How to Avoid Them
- What Field Experience Teaches About Curbless Showers
- How We Build Curbless Showers That Last
- FAQ
- Sources
Design Ideas and Layout Options for a Curbless Shower
The layout you pick determines how the water drains and how much the bathroom floor needs to change. A single-slope floor running to a linear drain along the back wall is one of the most popular setups right now because it only needs to pitch in one direction, which pairs well with large-format tile and a clean, uninterrupted look. A center or point drain works better in square footprints, but it pitches from all four sides toward the middle, which means more cuts in the tile and more seams to manage.
Enclosure style changes the feel of the room as much as the drain does:
- A fixed glass panel with no door controls splash while keeping the space visually open.
- A half-wall or wing wall adds privacy without boxing in the shower.
- A fully open wet room, with no glass at all, reads as the most spa-like option but demands the most disciplined waterproofing and often a trench drain at the entry.
Carrying the bathroom’s floor tile straight into the shower, uninterrupted by a curb, is what makes a curbless design look larger than it is. Many homeowners switch to a smaller tile format inside the shower floor itself to help hide the slight slope while keeping a seamless look from the doorway.
Weighing the Benefits Against the Trade-Offs
A curbless shower earns its popularity for good reasons, but it is not a neutral upgrade. Before committing, weigh these factors:
- Accessibility gains. A flush entry removes the single biggest fall hazard in a traditional shower and supports wheelchair or walker access without a ramp.
- Visual continuity. Matching flooring and the absence of a curb make small bathrooms look and feel bigger.
- Easier cleaning. Fewer grout lines at a curb edge means less mold-prone territory.
- Higher construction complexity. Achieving a flush entry usually means recessing the subfloor, which adds labor and coordination that a standard shower pan skips entirely.
- Tighter tolerances. Slope, drain placement, and waterproofing all have to be correct on the first try, since fixing a leak later means tearing out tile.
Some homeowners choose curbless purely for the look. Others need it for a family member’s mobility. Either reason is valid, but the accessibility case makes the extra construction cost easier to justify.
Slope, Drains, and Waterproofing: The Technical Core
This is where a curbless shower either performs for 20 years or fails in two. Every flush shower floor still needs positive drainage, typically around a quarter inch of fall per foot, as set by Schluter’s waterproofing and drainage guidance. The drain type determines how that slope is distributed.
- A linear drain along one wall only requires a single-direction slope, which simplifies framing and works well with large-format tile.
- A center drain needs a four-way slope toward the middle, which is harder to execute cleanly and usually forces smaller tile or more cuts.
- An offset drain splits the difference for awkward or narrow footprints.
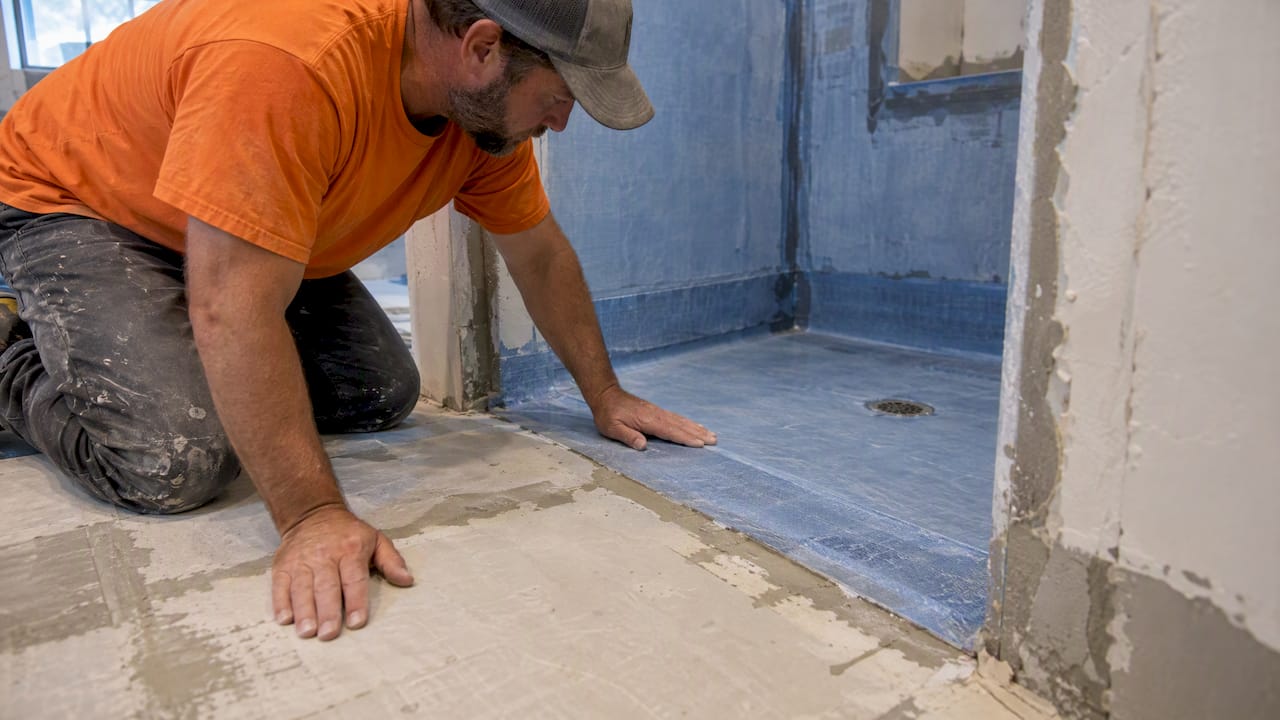
A single gap is where water migrates into the subfloor.
Subfloor strategy depends on what the existing structure allows. A recessed concrete slab, a framed floor dropped with modified joists, or a preformed sloped pan are the three common paths, and each carries a different cost and timeline. Framed dropped floors tend to be the most labor-intensive because they involve notching or sistering joists to create the pitch.
Pro Tip: Ask your contractor to show you the waterproofing detail at the doorway threshold before tile goes down. That transition is the single most common failure point in curbless showers.
What Accessibility Standards Say About Shower Dimensions
Accessibility codes are written for public facilities, but they are the most reliable reference point for planning a residential shower that genuinely works for mobility needs. The Access Board’s ADA guidance on bathing rooms lays out dimensions and hardware placement for roll-in and transfer showers.
- A standard roll-in shower is referenced at dimensions suitable for accessibility, including a typical depth of 60 inches and widths around 30 to 36 inches.
- A transfer-type shower is referenced at typically square dimensions around 36 inches on each side with a matching entry width.
- Thresholds are capped at a very low height to prevent mobility obstacles, with beveling required, which is also the technical reason continuous waterproofing across that joint matters so much.
- Grab bars, seat placement, and shower controls all have recommended mounting ranges in the same guidance, treated as one coordinated system rather than separate add-ons.
These are reference dimensions, not a mandatory code for every home renovation, but they are the most dependable baseline for sizing a shower that will serve someone using a wheelchair or walker. NAHB’s aging-in-place checklist recommends a curbless stand-up shower at least 36 inches wide, with wall reinforcement rated for 250 to 300 pounds to support grab bars added later, a fold-down seat, and a handheld shower head with a 6-foot hose.
Choosing Tile and Finishes That Work on a Sloped Floor
The shower floor has to pitch toward a drain, and that single fact shapes which tiles will actually install well. Smaller mosaic tiles bend around a slope with minimal cutting, which is why many curbless shower floors use mosaic even when the walls carry large-format tile, according to tile installation guidance for sloped surfaces.
- Textured porcelain or small-format mosaic gives better footing in a wet shower floor than large-format tile, which has fewer grout lines to interrupt a slick surface.
- Polished natural stone looks striking but is a poor choice for a shower floor specifically because of reduced wet traction.
- Large-format tile belongs on the walls and the surrounding bathroom floor, where it reinforces the open, continuous look, while the shower floor itself takes a smaller format to manage the pitch.
- Epoxy grout resists moisture and staining better than standard cementitious grout, which matters most at the many seams a sloped mosaic floor creates.
The transition where bathroom floor tile meets shower floor tile is worth a design decision of its own, since it is also a waterproofing detail that needs to be planned with the membrane, not layered on top of it after the fact.
Planning Your Project: Feasibility, Cost, and Hiring
Before calling contractors, walk through what your existing bathroom allows.
- Confirm whether your shower sits on a concrete slab or a framed floor with joists, since that determines whether a recessed pan or joist modification is on the table.
- Note where the plumbing rough-in currently sits relative to where you want the drain.
- Check ventilation capacity: an open, curbless design often increases humidity exposure in the surrounding room, so exhaust fan sizing deserves a second look.
- Flag any adjoining room finishes, like hardwood floors, that sit at the same elevation and could be affected by a dropped shower floor.
Installed cost for a curbless shower conversion or new build commonly falls in the range of roughly $4,000 to $12,000, according to Accessible Bath Guide’s cost overview, with structural work, drain type, and finish choices driving where a project lands in that band.
Pro Tip: When interviewing contractors, ask specifically how many curbless showers they’ve built in the past year and what waterproofing system they use by name. A vague answer on either question is worth pausing over.
Common Installation Mistakes and How to Avoid Them
Most curbless shower failures trace back to one of three errors:
- Insufficient slope or misplaced drains. Insist on a slope check with a level before tile goes down, not after.
- Tile chosen after framing is finished. Large-format tile and a four-way slope often do not fit together, so lock in tile selection before the subfloor work begins.
- Gaps in the waterproofing membrane. Require photo documentation of the continuous membrane at the walls, floor, and doorway transition before it gets covered.
What Field Experience Teaches About Curbless Showers
The projects that run into change orders almost always trace back to a decision made too late: tile picked after the slope was framed, or a drain type chosen without checking the plumbing layout first. The fix is sequencing, not budget. Locking in tile format and drain type before framing starts, and insisting on a waterproofing inspection before tile goes down, saves more money than any material upgrade.
— Mark
How We Build Curbless Showers That Last
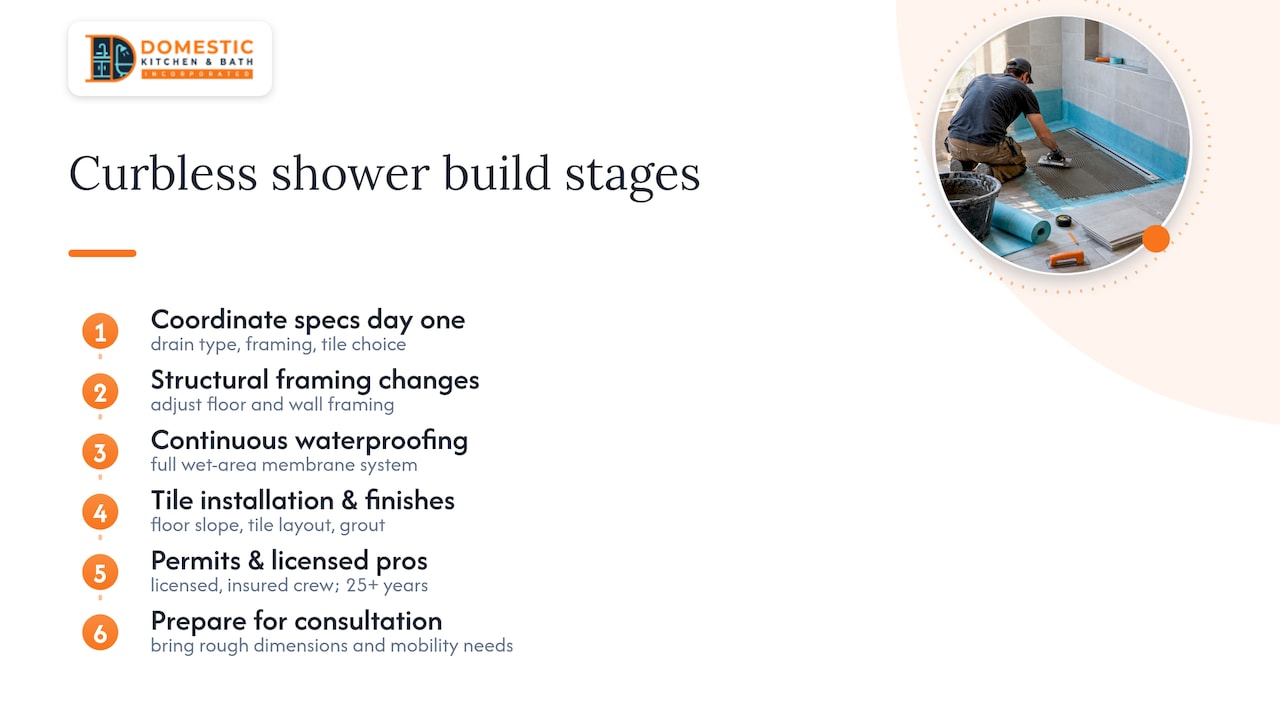
We handle curbless shower conversions the way the technical details above demand: drain type, framing, and tile selection coordinated from day one, not patched together mid-project. Our bathroom remodeling work covers structural framing changes, continuous waterproofing systems, tile installation, and permit handling, all managed by licensed and insured professionals with over 25 years in the trade.

For storage that fits a curbless bathroom’s clean lines, we’ve also worked alongside partners like Classy Closets on built-in cabinetry and vanity storage. We back every job with a satisfaction guarantee and transparent pricing from the first estimate.
Ready to see what a curbless shower would look like in your space? Request a design consultation and come prepared with your bathroom’s rough dimensions and any mobility needs you want the design to account for.
FAQ
Is a curbless shower worth the extra cost?
For most homeowners planning to stay in their home long-term, or anyone prioritizing accessibility, a curbless shower is worth it for the fall-risk reduction and resale appeal alone. The added cost, typically in the $4,000 to $12,000 range for conversions, depends heavily on whether structural changes are needed.
What is the difference between a curbless shower and a curbed shower?
A curbed shower has a raised lip, usually a few inches tall, that contains water inside the stall and requires a step to enter. A curbless shower sits flush with the bathroom floor and relies on slope and a well-placed drain, rather than a curb, to control water.
How much slope does a curbless shower floor need?
Curbless shower floors typically need about a quarter inch of fall per foot toward the drain. A linear drain only needs that slope in one direction, while a center drain needs it from all four sides.
How wide should a curbless shower be for wheelchair access?
NAHB’s aging-in-place guidance recommends a minimum width of 36 inches for a curbless stand-up shower. For full roll-in wheelchair access, the Access Board references a 30 by 60 inch or 36 by 60 inch compartment as reliable planning dimensions.
Can a curbless shower be added to an existing bathroom?
Yes, but retrofitting is more involved than building one into new construction because it usually requires recessing the existing subfloor to create slope. A Houzz case study shows a 5 by 9 foot retrofit that needed the shower floor dropped about 2 inches to achieve proper slope to a linear drain.
Sources
- ADA guidance chapter 6 — bathing rooms
- NAHB aging-in-place remodeling checklist
- Houzz case study: curbless shower project
- Schluter homeowner guidance on curbless showers
- Accessible Bath Guide — curbless shower overview and cost discussion